July 2023 Update - Normal, Proximity and Turret Grenades
- Riptcage
- Jul 29, 2023
- 6 min read
Updated: Sep 15, 2023
Diving into the Third Quarter
It was a busy month with family in town, but my commitment remains stable to start the third quarter. Implementing all three grenades for the Marine Class was nostalgic, exciting and has some fun challenges. Of some of those challenges included server security for grenades, extending the custom weapon system with a generic "charge" functionality, and discovering some Roblox Studio limitations while attempting to match the visual appearance of the Rail Gun.
Marine Class Grenades Demo
This months video takes a quick look at the end result of implementing the three grenades of the Marine Class including the normal grenade, proximity grenade and turret grenade in order. Check it out and then read the description of each below.
Normal Grenade - Common among most classes and has about a 3-4 second timer before it explodes. If you don't throw it in time, it will explode in your hand. A good technique while running with the flag without a grapple, is to spam normal grenades as you run down the hallway being chased by multiple players of the opposing team.
Proximity Grenade - Designed to trigger an explosion when a player of the opposite team comes within a specific range, this grenade is typically placed as a defense mechanism hidden around the corner or near the flag to blow the enemy to pieces when they try to steal it. Proximity grenades while active can also explode due to the blast radius damage of an external explosion like the normal grenade or a rocket from the rocket launcher. This grenade has a 4 max active limitation for each player and has a long timer once thrown before they get too stale and explode on their own causing the team to reinstate their defenses.
Turret Grenade - With 2 max active at one time for each player and health of its own, this grenade is often used for additional defenses near your teams flag because it can assist with fragging(killing) the opposing offensive team trying to steal your flag. While it doesn't do as much damage as the Rail Gun held by the Sniper Class, 2 turret grenades can compete pretty well with their sensors going off every 3 seconds to detect and accurately shoot at the enemy within range, as long as they can see you.
Server determines max activated bullets

When equipped with proximity grenades in hand, clicking the fire button down will begin a charge that checks the server if we are valid to hold and throw a proximity grenade.
We want to generically support this across multiple grenades, so there is no specific code on the server that relates to the proximity grenade. We rely on the client to pass in the proper weapon name identification for the server to know which module we should refer too, and then load it to get the configuration for how many max active bullets are allowed. Since exploiters won't know this weapon name identifier and the configuration is only accessible from the server, this is hopefully non-exploitable.
Server keeps track of timers and position

A server-side master player table maintains a record of all active grenade types for each user ID. Every grenade is assigned a unique identifier, known as a GUID, when added to the workspace upon being thrown. This setup is vital for server-side tracking of each grenade and facilitating accurate communication to the client about what actions should be taken for a specific grenade and at what time.
The server can maintain security by tracking the time and the last updated positions. This allows it to verify the integrity of the expected explosion timer, preventing any potential tampering, while also determining which grenades fall within the blast radius of other explosions.
Integrating Grenades into the existing Weapon System
After spending a night working towards a custom grenade system.. I realized most of it was copy/paste of the existing weapon system with some subtle changes and new features. Due to this realization, I ended up scrapping the entire system, made current methods more generic, and added a charge feature to hold and throw grenades including server side security as shown above. While the usage is secure, I must be certain all weapons and grenades work as expected for other clients. This will be a focus for the month of August as the full weapon system likely needs a good polish month before moving forward with every other class weaponry and grenades.
Rail Gun FX limitations in Roblox Studio
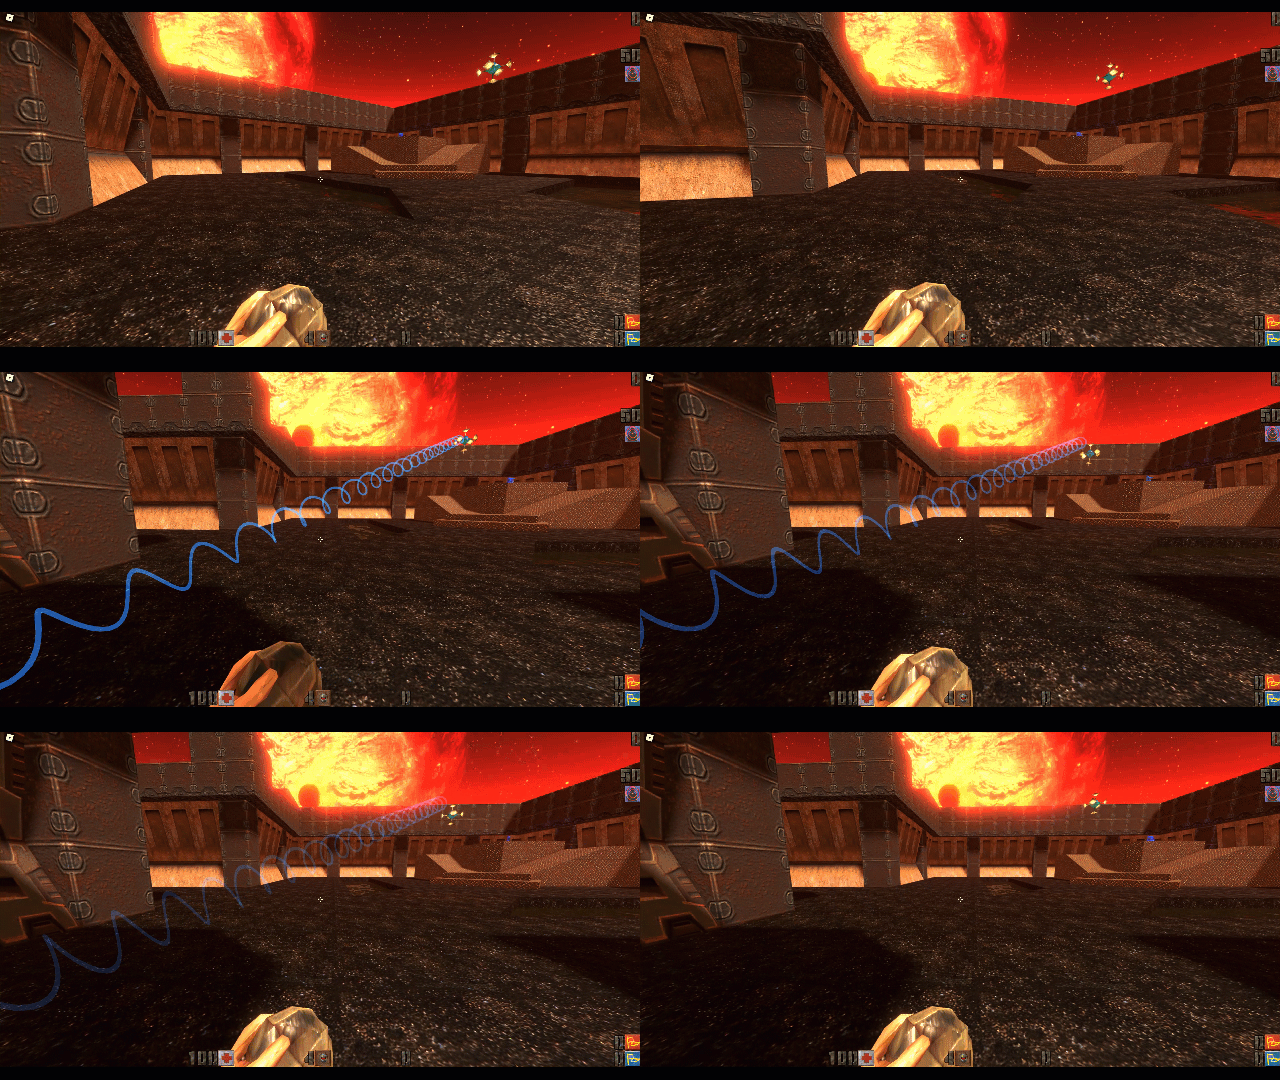
The Rail Gun in Q2WF is purely particle based, where you can see two different particles take two specific shapes. One Particle system becomes more blueish color with a helix shaped swirl around a more white color particle system that shoots a line through the middle of the Helix "Rail Coil".

Roblox studio does not support controlling per particle position, or emitting particles within the surface or the volume of a custom shape like a Helix. Roblox only supports emitting within basic shapes they provide, like a box, sphere, cylinder, etc.
To the left, we can see the original q2wf implementation.

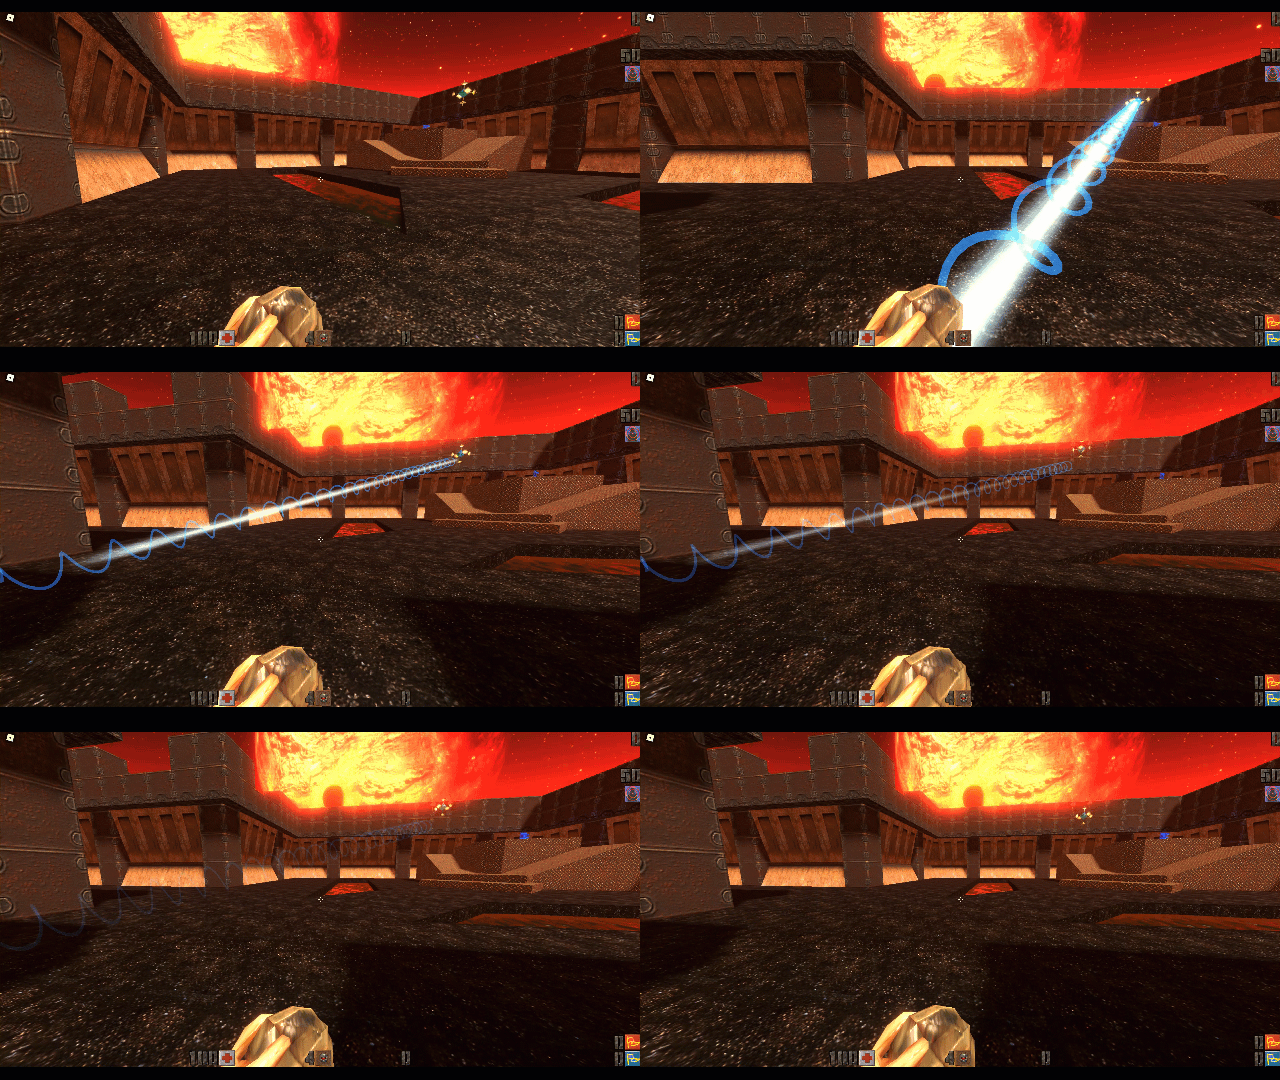
Due to this limitation, I opted into matching the color, shape, and feel of the rail gun using a custom dynamic mesh for the blue helix shape and a white textured beam down the center.
I believe I've matched the timing enough where it feels good enough for now, however I'll likely adjust the helix shape stretch amount and the brightness of the white beam in the center to better represent.
Rail Mesh Motion

The approach is simple. We start with a 5 stud length rail mesh with a light neon glow.
Based on the length of the distance vector (or magnitude) we divide by the stud units of 5 to increment how many rails should be created to start at shoot position and reach the end of the hit position.

From here, we'll loop through numberOfRails to make multiple cloned rail mesh and position/orient them properly in the direction of the shot. We set the transparency to show the rails and immediately start a tween of the size and position to give it some level of life.

For the beam movement and the fading transparency were going for, we must ensure the segments are enough based on the length. Otherwise attempting to have a beam fade on the ends simply will not work. It needs those segment points to determine where on the beam it will choose to start the value change from. Similarly, create a moved hit position so that we can tween both start/end beam positions.

Below we can see both the rail and the white beam individually and then put together.
To animate the transparency off, the cloned rails were simple, however the beams had a bit of complexity to it in order to make it feel like it was fading from the turret position into the hit position. To make it feel smooth, this required 20 iteration steps to achieve.

Is this performant for an effect that lasts 1.5 seconds? Since this is the only way to achieve this, it seems just fine. Note: Do not attempt to adjust the position value of the NumberSequenceKeyPoint, it will not work.
Q2WF to WFR Challenges
I continued to face multiple challenges during the re-creation process of each grenade.
The original model is completely un-usable in Roblox. Every vertex was reconstructed to create new models.
The original animation is vertex animation and it is not supported in Roblox. A custom rig with bones and skinning influences on the reconstructed mesh was built as required for a custom animation implementation.
The original textures are a simple flat diffuse, are pixelated and too low quality.
The Quake 2 engine handles settings for interpolations like blending, idle pausing, etc, therefore a custom LUA implementation of gameplay mechanics was created from scratch to closely resemble the visual appeal of Q2WF.
To Clarify: None of the original Quake 2 Code, Models, Textures or Animation are used directly in Weapons Factory Roblox.
Work was done to create a custom implementation of each element of an asset to match Q2WF, in a similar feel with a new shade of light for WFR.
Next months focus
For Quake 2 Weapons Factory in Roblox
Ensure server security is manageable, performant, and easy to ingest before working on all other class weaponry.
Ensure other client visuals is on par with what is expected of a multi-player game.
Implement the concept of a device, starting with the Alarm for the Marine Class


Comentarios